If you’ve ever dreamed of achieving long, voluminous hair without spending hours at the salon or risking damage to your natural locks? Halo hair extensions might just be your new best friend. Known for their easy application, minimal maintenance, and seamless blend, Halo extensions are the ultimate DIY hair extension solution for beauty lovers everywhere.
In this guide, we’ll walk you through how to install Halo hair extensions step-by-step, share expert tips for achieving a natural look, and help you make the most of your investment. Whether you're a first-timer or looking to level up your Halo game, this is your go-to resource for gorgeous, effortless hair.
What Are Halo Hair Extensions?
Before we get into installation, let’s take a moment to understand what Halo hair extensions are and why they’ve become a must-have in the world of DIY hair extensions.
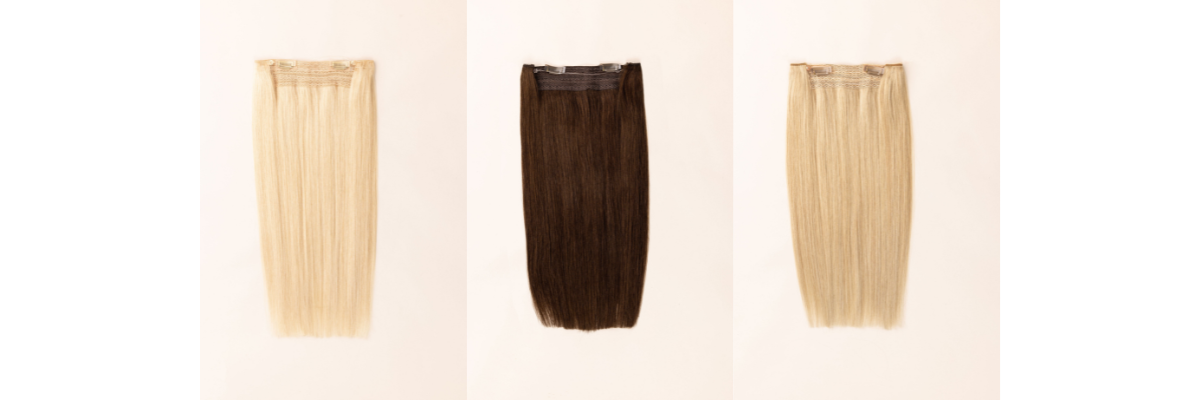
Unlike traditional clip-ins or tape-in extensions, Halo extensions are a single weft of hair attached to a thin, invisible wire that sits gently around the crown of your head — kind of like a halo (hence the name). The design allows the extension to sit securely and naturally without glue, or bonding, making them one of the safest and most convenient methods for adding length and volume.

Benefits of Halo Hair Extensions:
Damage-free: No adhesives, glue or tapes
Fast application: Takes just seconds to install.
Comfortable wear: Lightweight and gentle on your scalp.
- Perfect for beginners: Ideal for anyone new to DIY hair extensions.
- Blends seamlessly: When installed correctly, they’re virtually undetectable.
What You’ll Need:
To install your Halo hair extensions for a flawless finish, gather the following tools:
Your Halo hair extension piece
A tail comb
Hair clips or sectioning clips
A brush or wide-tooth comb
Optional: Flat iron or curling wand for styling
Step-by-Step Guide: How to Install Halo Hair Extensions
Step 1: Brush Your Hair
Start with clean, dry hair. Use a paddle brush or a wide-tooth comb to detangle your natural hair and your Halo hair extension. The smoother your hair, the easier the installation will be — and the better the final result.
Step 2: Section the Top of Your Hair
Using your tail comb, create a horizontal part from ear to ear, about 1 to 2 inches from your hairline. Clip the top section of your hair up and away. This section will eventually fall over your Halo to conceal the wire and blend with the extension.
💡 Pro Tip : If you have finer hair, tease a bit at the roots of your lower section. This will give the Halo something to grip onto and help keep it in place.
Step 3: Position Your Halo
Take your Halo extension and place the invisible wire over the crown of your head, just like a headband. The extension should sit comfortably on the parietal ridge — the widest part of your head — with the wire nestled about an inch back from your hairline.
Adjust the wire so it sits snugly but not too tight. Most Halo extensions come with adjustable loops or hooks so you can customise the fit. The weft should lay flat against the back of your head, just above the nape of your neck.
Step 4: Release the Top Layer of Hair
Now that your Halo is in place, unclip the top section of your hair and let it fall naturally over the extension. Use your comb or fingers to blend your hair with the extension weft, ensuring the wire and any edges are fully hidden.
This step is what gives Halo hair extensions their seamless look. If done correctly, no one will be able to tell you’re wearing extensions — not even up close.
Blending Tips for a Seamless Look
Even though Halo extensions are designed to blend effortlessly, a few styling tricks can take your look from good to stunning:
1. Curl Your Hair and the Extensions Together
Use a curling wand or flat iron to create soft waves or curls. Styling your natural hair and Halo hair extensions together helps unify the texture, making the transition between your hair and the extension completely undetectable.
2. Use a Texturising Spray
A light mist of texturising spray adds grip and body to both your hair and the extension, which helps them blend better — especially if your hair is on the finer side.
3. Trim for a Custom Fit
If the ends of your Halo look too blunt or the length is too obvious, consider trimming the extensions slightly to match your haircut. Take them to a hairstylist for a professional blend, or trim carefully at home if you’re confident.

How Long Do Halo Extensions Last?
With proper care, Halo hair extensions can last anywhere from 12 months - 2 years — sometimes even longer! Because they don’t require adhesives or frequent salon visits, they experience much less wear and tear compared to other extension types.
To prolong the life of your Halo:
Store it in a protective bag or box when not in use
Use sulphate-free, extension-friendly products
Gently brush before and after each wear
- Avoid excessive heat styling
Who Are Halo Extensions Best For?
Halo hair extensions are a game-changer for anyone who:
Wants longer, fuller hair instantly
Prefers DIY hair extensions they can apply at home
Wants a low-maintenance, damage-free option
Has fine to medium hair (though they work on thick hair too!)
Needs a versatile solution for everyday glam or special occasions
Whether you’re heading to brunch, a wedding, or just want to boost your confidence for a night out, your Halo has you covered.

Halo FAQs
Can I wear my hair up with Halo extensions?
Yes, but with some limitations. Low ponytails, loose braids, or half-up styles work best. Because the Halo sits on the crown, high ponytails and top knots may expose the wire.
Can I colour my Halo hair extensions?
Most Halo extensions made from 100% human hair can be dyed, but it’s always best to consult a professional colourist — especially if you’re going darker. Avoid bleaching, as it can compromise the integrity of the hair.
How often should I wash my Halo?
Unlike your natural hair, you only need to wash your Halo extension every 10–15 wears, or whenever there’s a buildup of product. Always use gentle, sulphate-free products and let the extension air dry.
Final Thoughts: Confidence in Minutes
Whether you're preparing for a big event or simply want to elevate your everyday style, Halo hair extensions offer a fast, affordable, and DIY-friendly solution for achieving dreamy hair. With just a few simple steps, you can go from flat to fabulous — no salon appointment needed.
Ready to try it for yourself? Shop our collection of premium Halo extensions at Love The Style, and experience the confidence of full, flowing locks in just minutes.